
Inside Knifemaking

Sometimes you look at a finished piece of art and wonder just how the artist designed and fabricated the piece. I recently completed this knife and took some sequential photos during its progress. I wrote down a few thoughts about the process and produced an article for the Saskatchewan Craft Council’s website called “The Sum of all Parts” – following is a rendition of that article.
The most difficult part of knifemaking is committing to a final design. In the
This is where the challenge comes in. You may have to build a new machine, find new materials, learn a new skill or all of the above. Even then, sometimes you have to go back and modify your original design in order to accommodate all your new ideas.
Now that you have decided it is possible to build this knife, you carefully plan all the steps in a rigid order toward the completion of the knife. One major factor in this assembly order is that at some point you have to heat treat the blade. After this
After you are sure everything is acceptable (or as close to perfect as any knife maker strives for), you go ahead and harden the blade.
The stainless steel has to be taken up to around 2000 degrees Fahrenheit to harden it and when this process is done, the blade is covered in a dark oxide which has to be carefully removed. Then the blade has to be mirror polished before the final glue up stage. This glue up step can cause one
The next major hurdle is this glue up stage. This particular knife has 21 separate pieces and once they are all covered in sticky epoxy, there is no time to alter anything. This
This skill of making your hands and machines do what your brain pictures in your mind
The following photos are mini steps and stages of designing, fabrication and trial fitting of these pieces toward the finished end or the sum of all parts.
Photos 1 to 4
Putting the file handles in golf balls helps your hands immensely when it comes to fatigue and control. This tedious filing can take many hours.
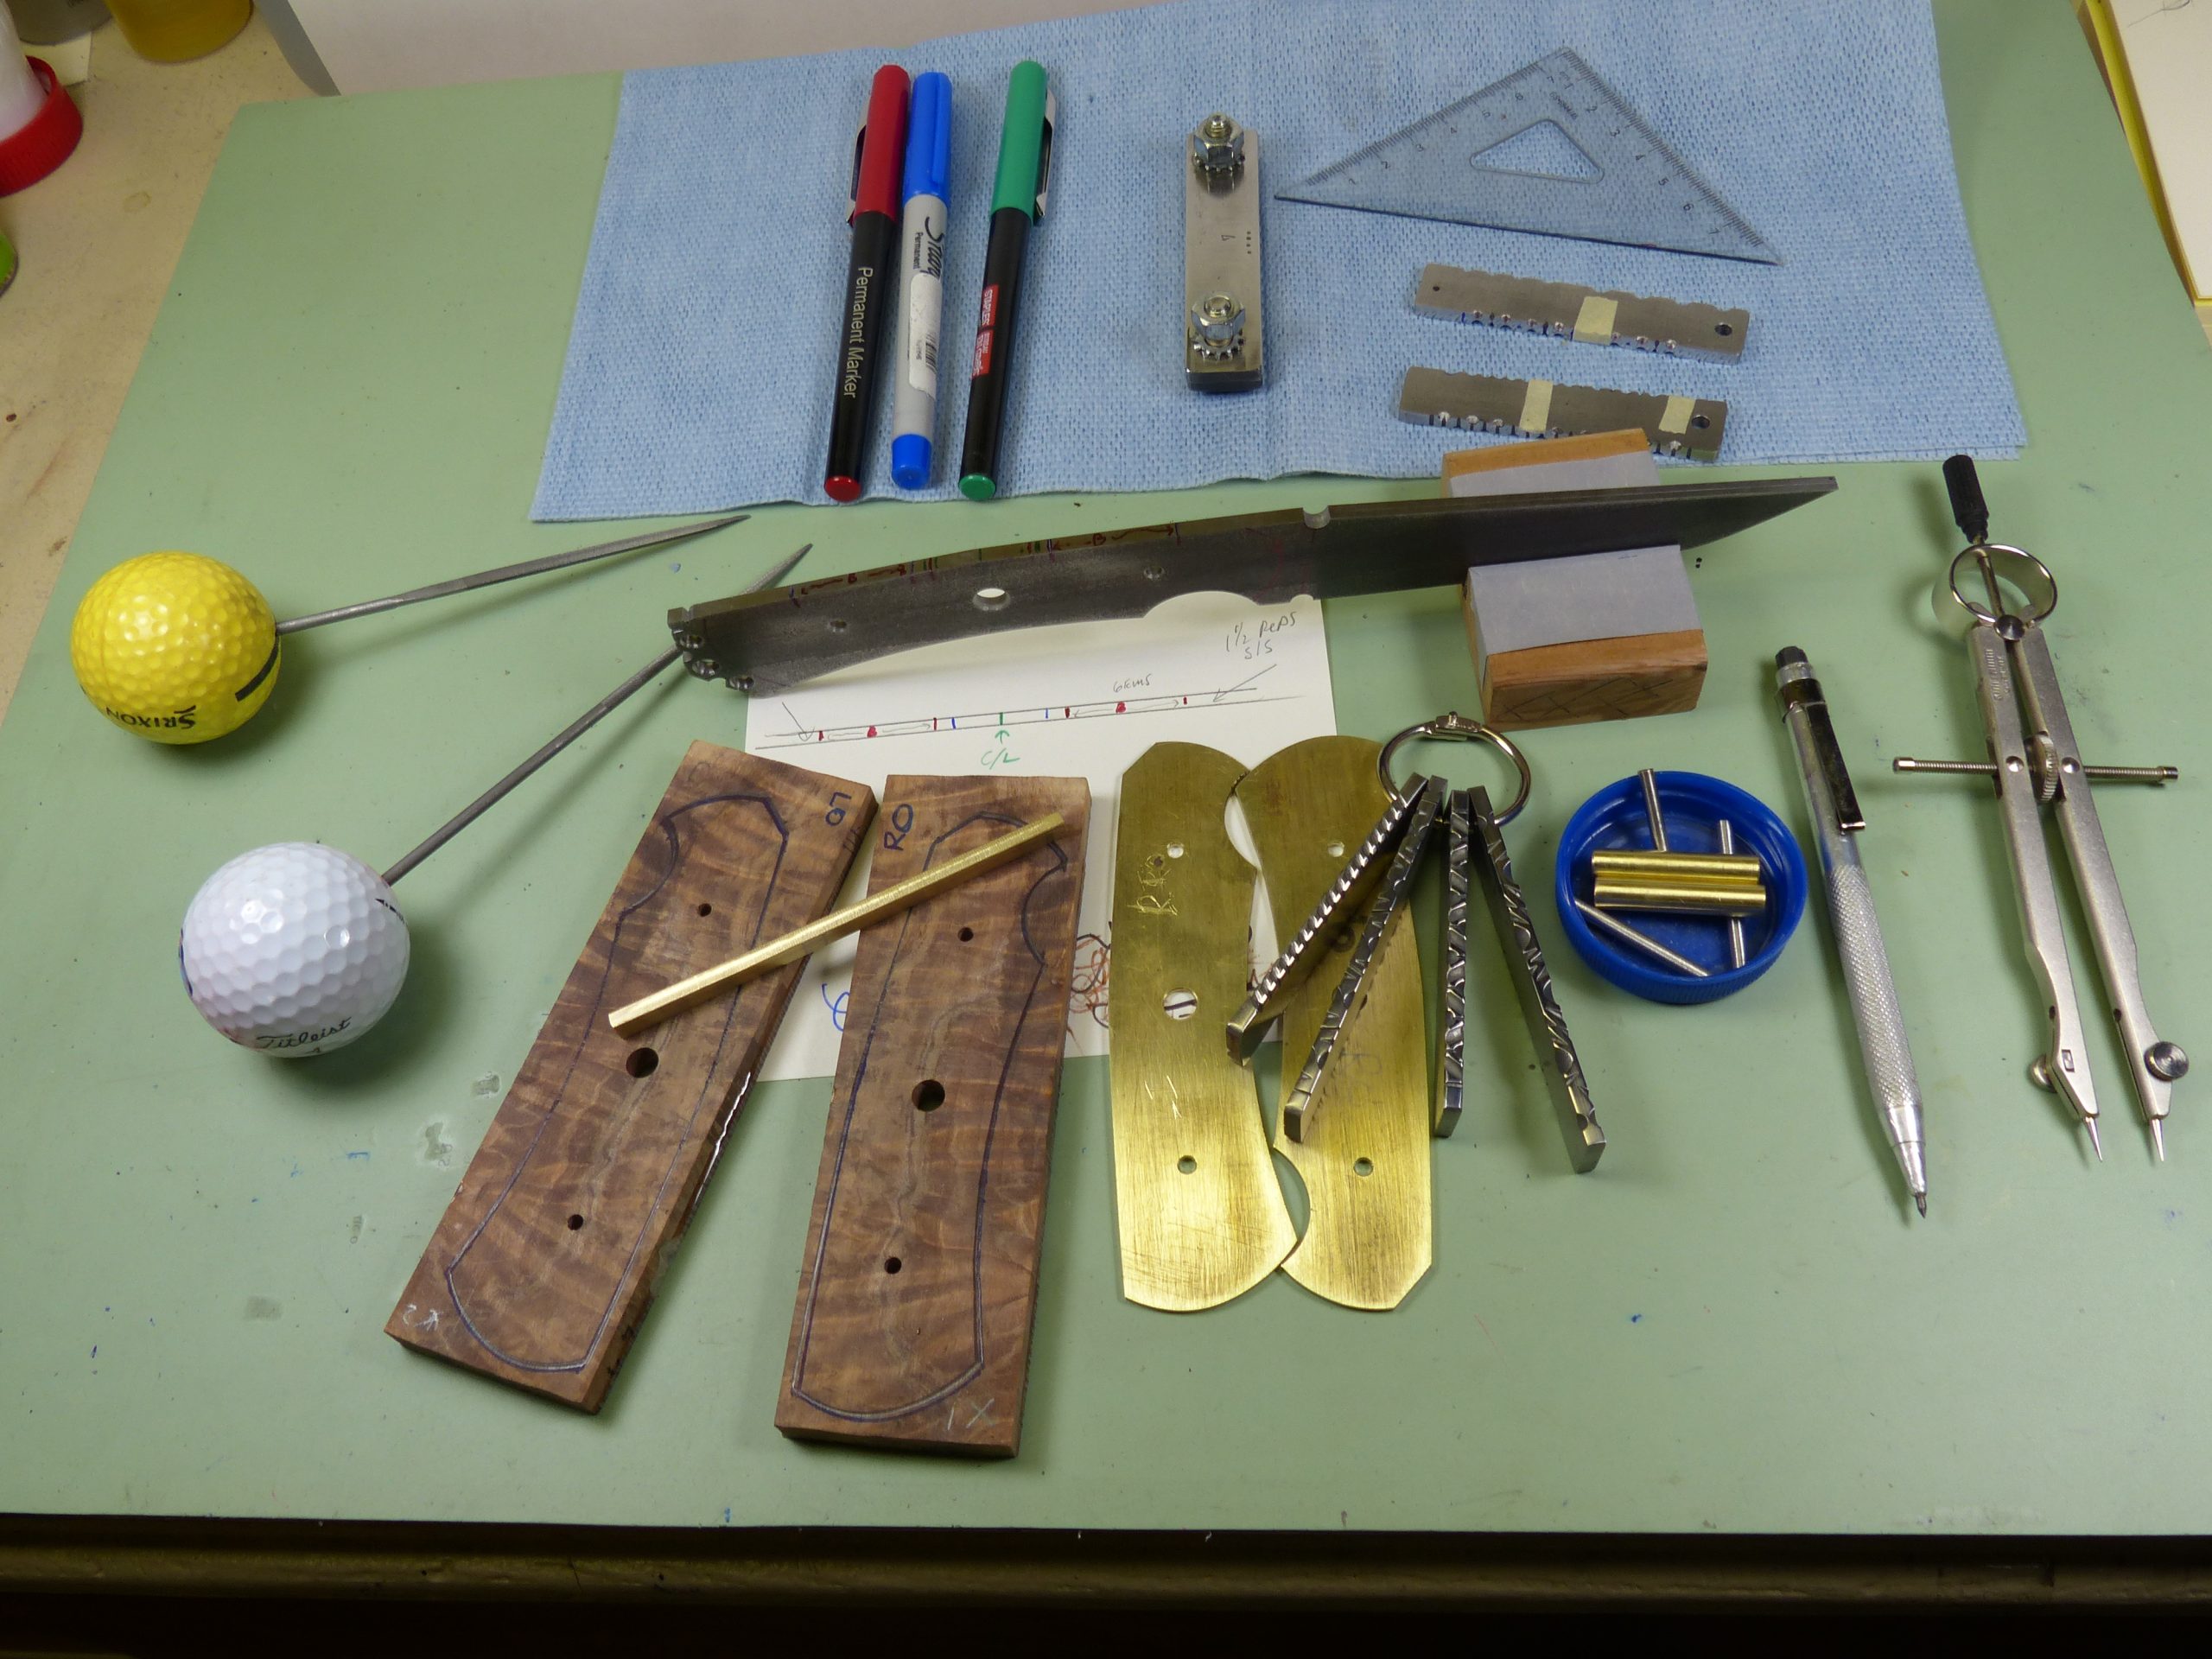
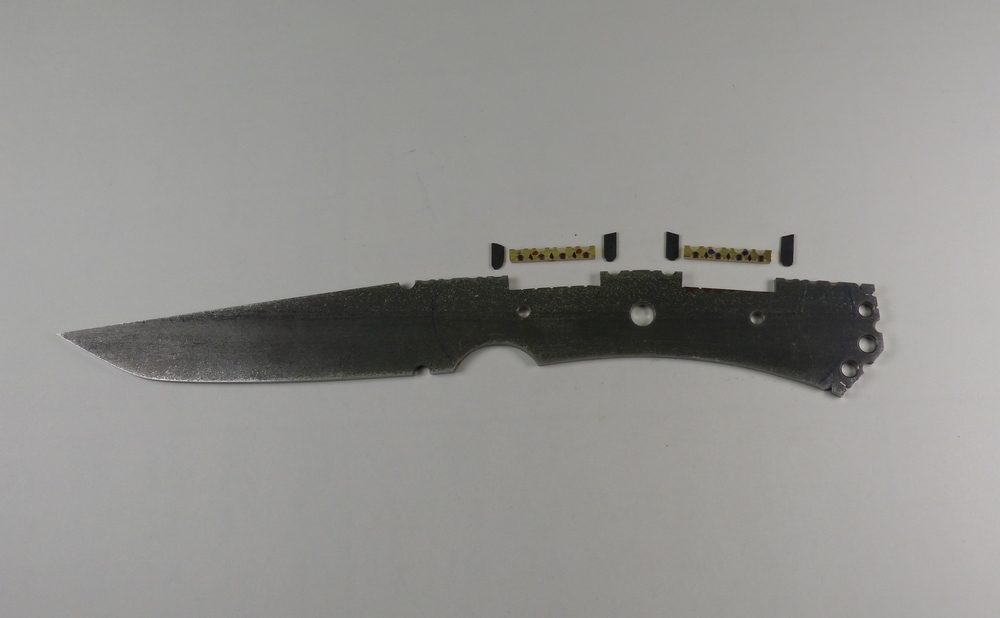
1 Knife blank on working bench with parts and tools
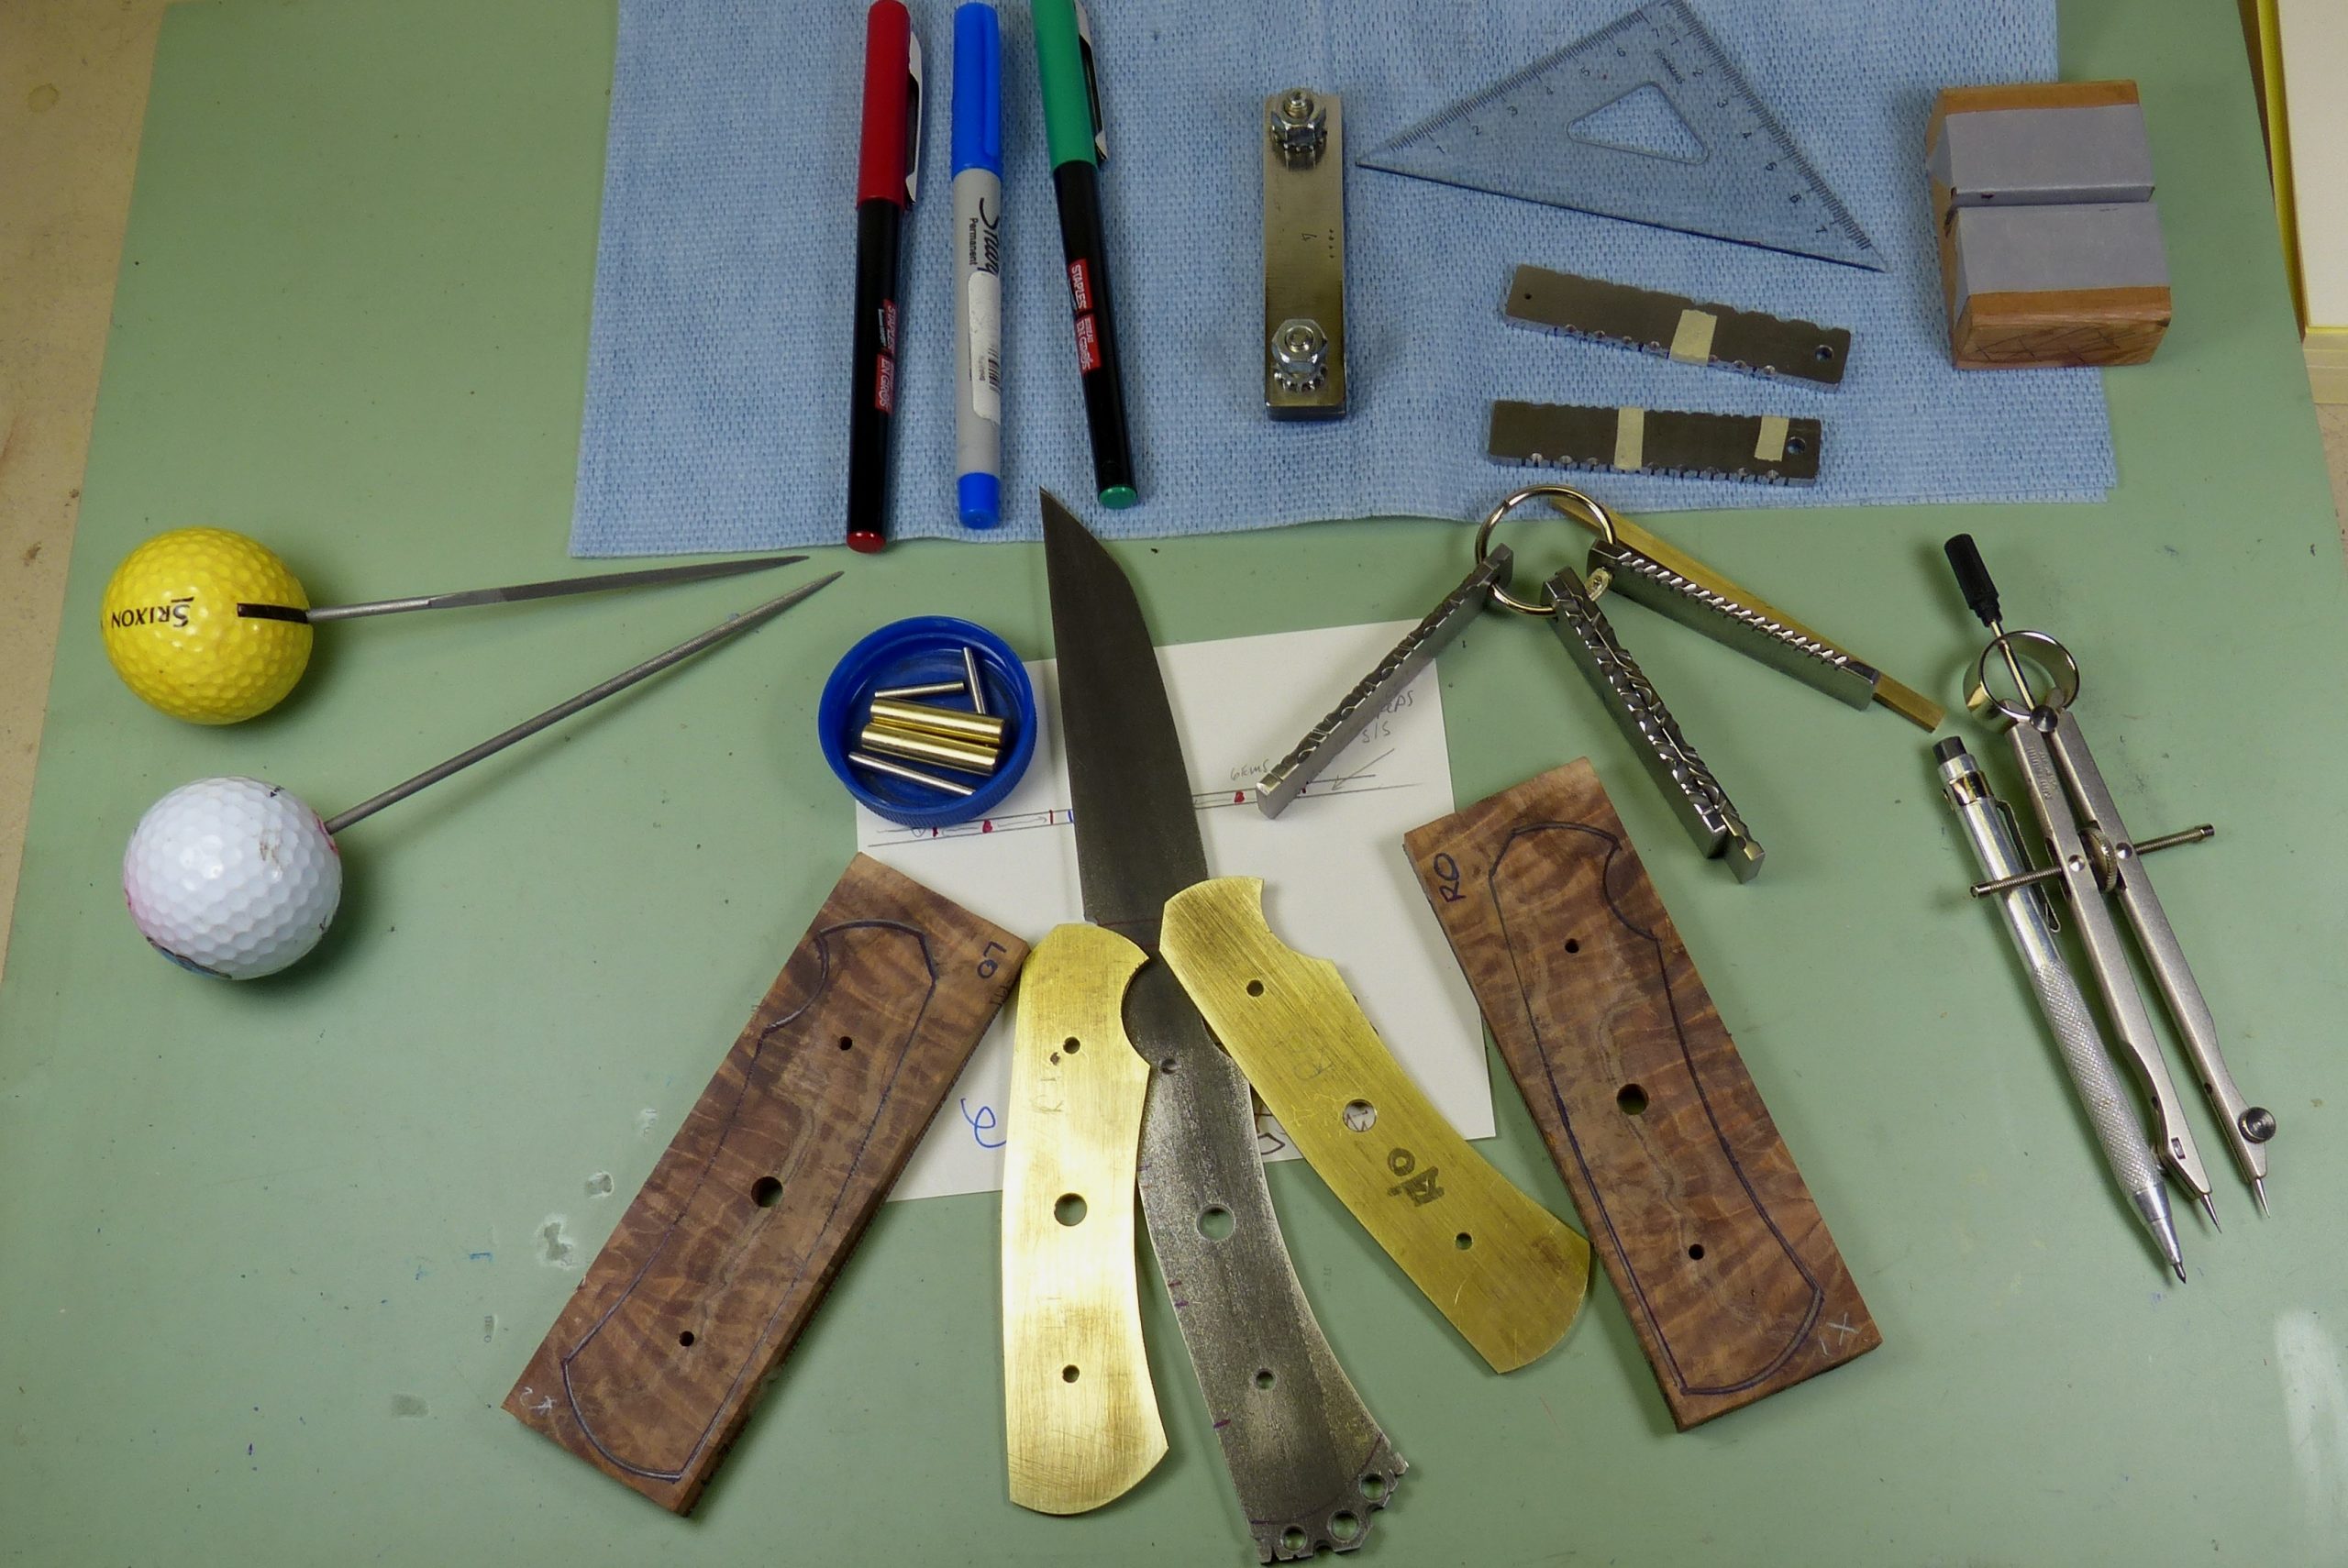
2 Knife blank with materials and tools on work bench
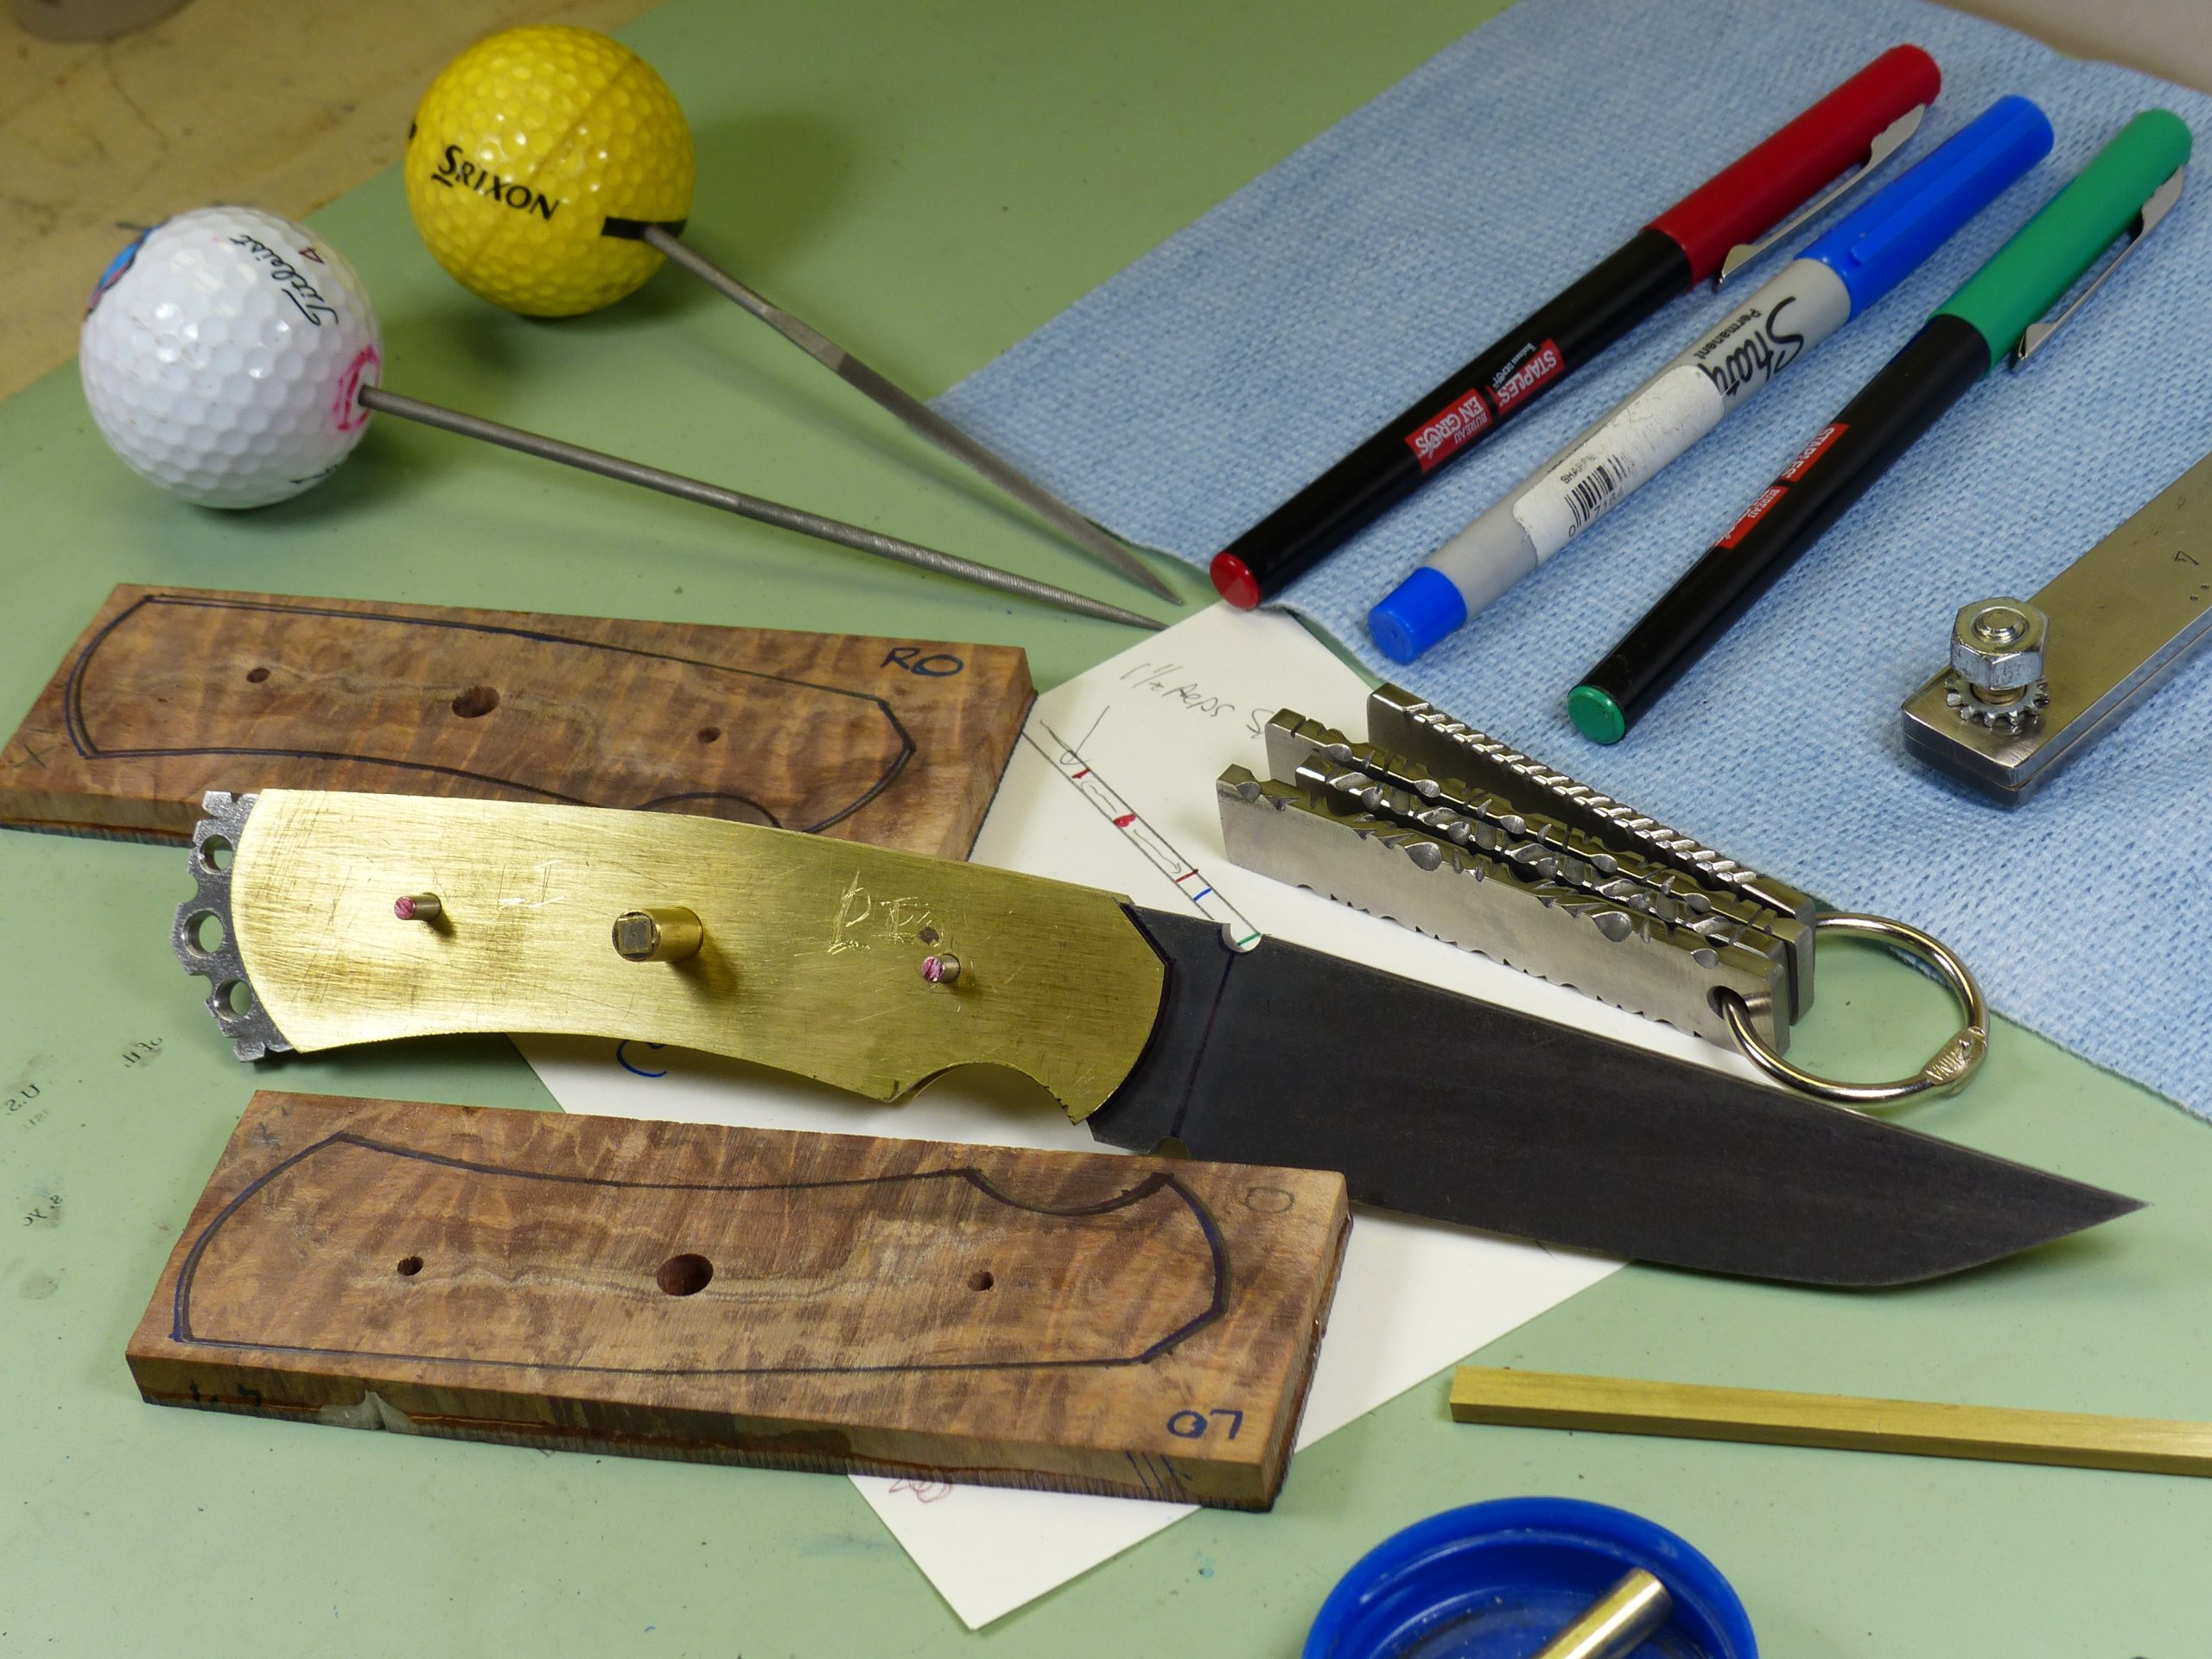
3 Partially assembled knife on work bench
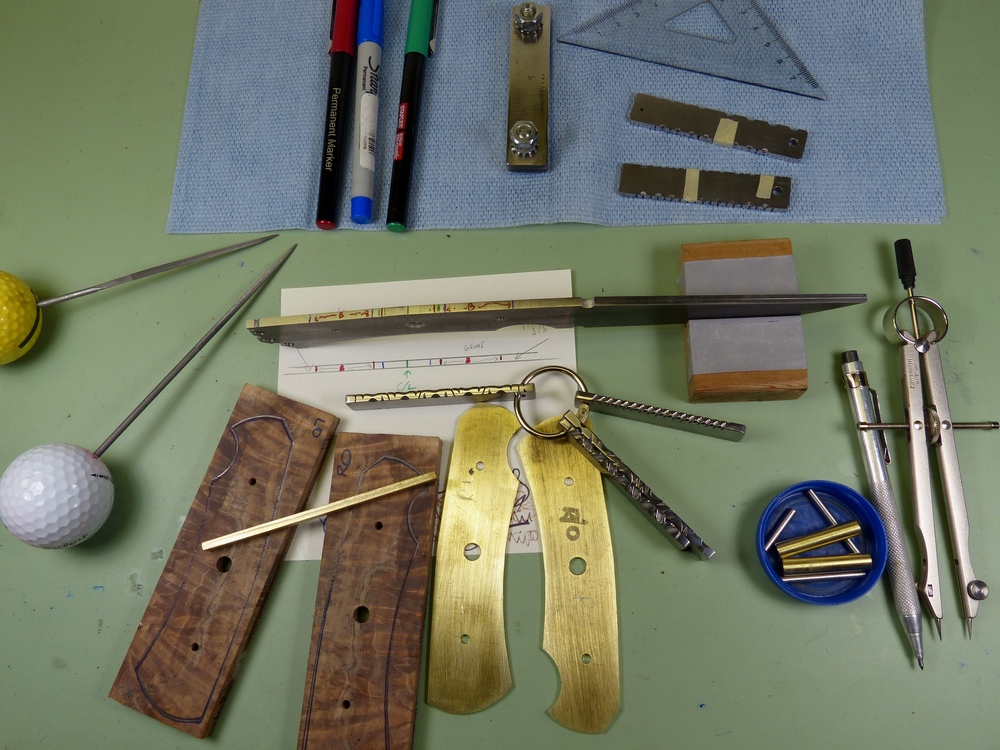
4 Knife blank and handle materials on work bench
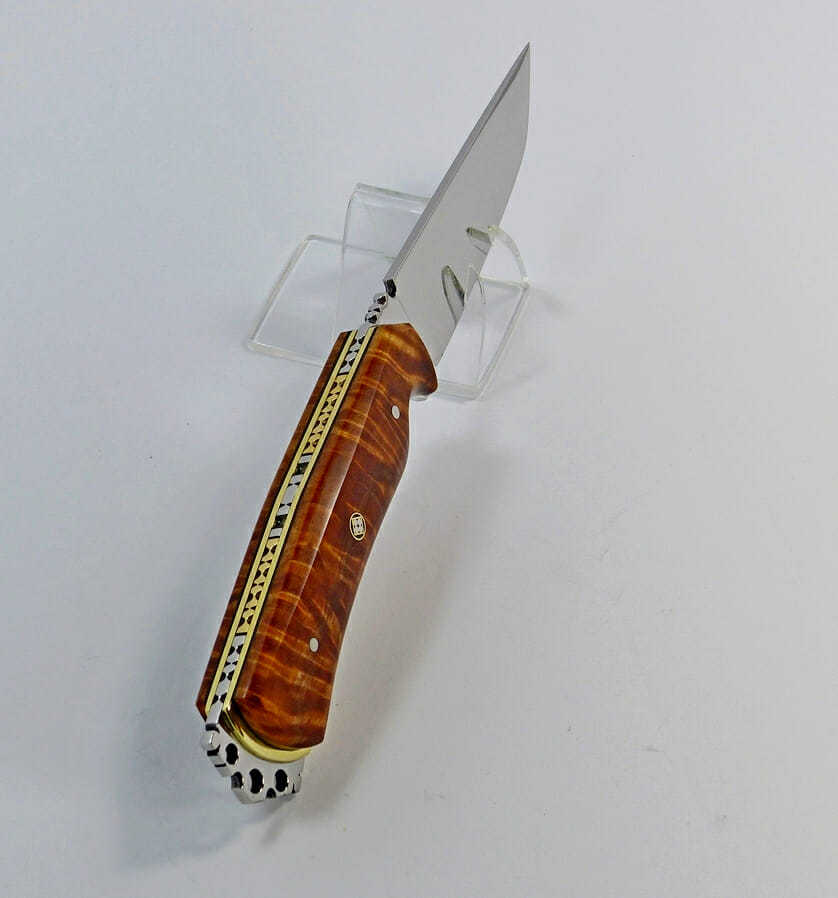
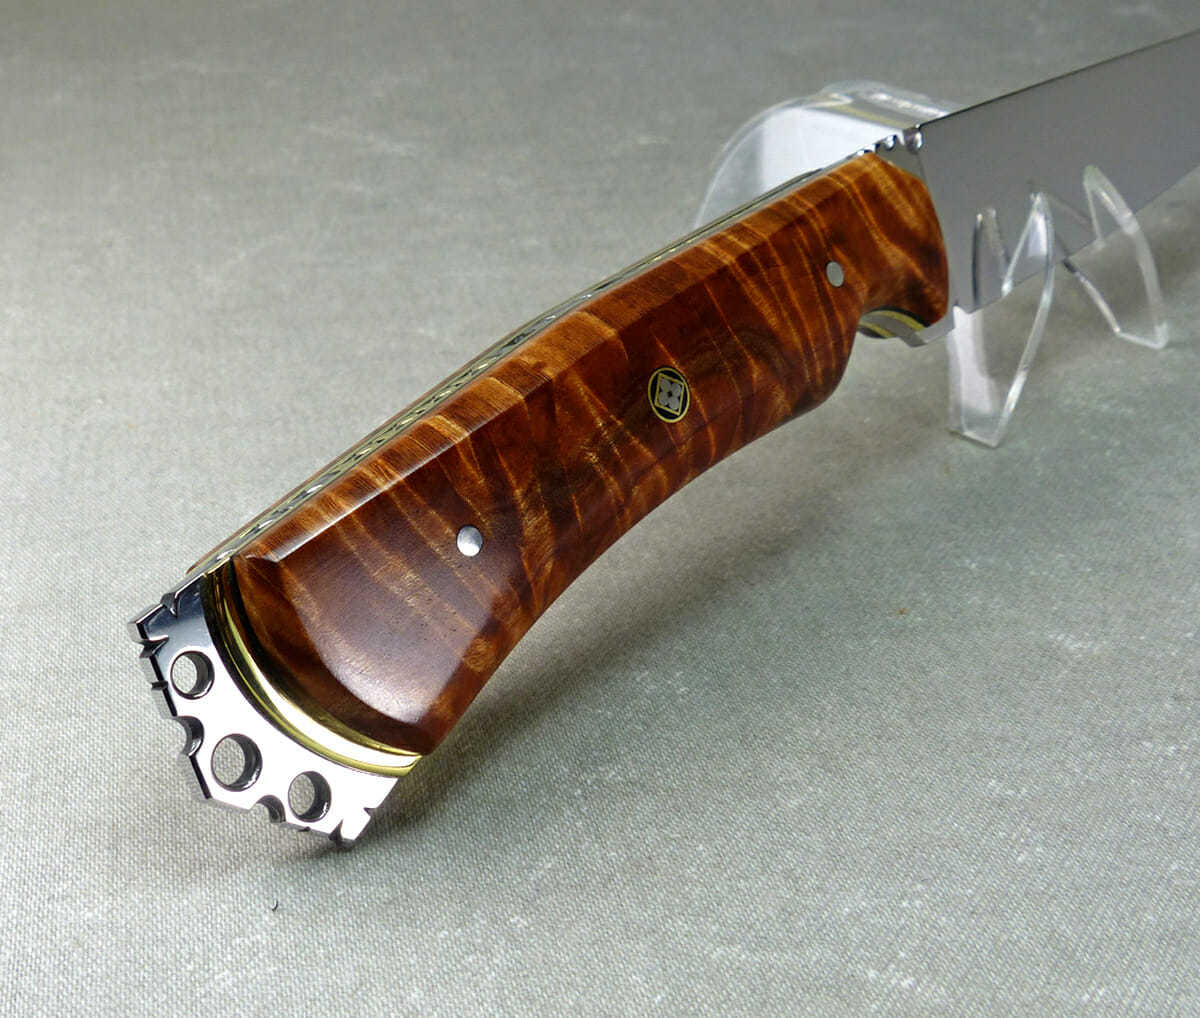
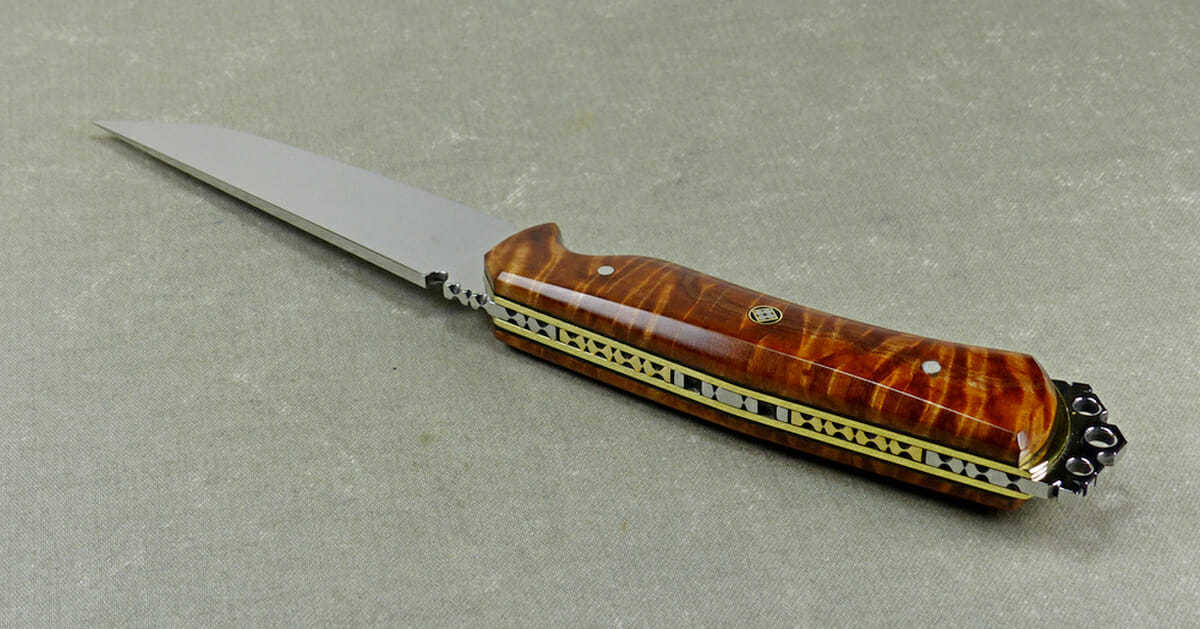
Photos 5 and 6 show where I have cut out the tang to allow for the inlaid brass file worked sections. This was my unique twist for this particular knife. Normally a knife maker will just do the file work on the back of the spine itself, but my new technique was to cut out sections inside this file work pattern and insert another pattern made from a different material…..and yes, I do drive myself crazy by doing these types of innovative techniques and constructions!
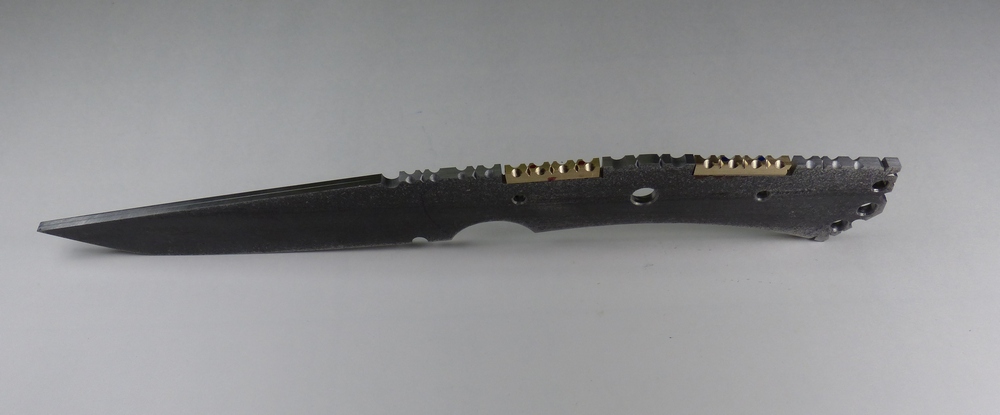
Photos 7 to 9 show some of the different pieces and how they assemble towards the final fitting.


The next photos show the pieces against the original scale drawing of my design and how they match up.


The next selection show more pre-glue up assembly trial fitting – some of the pieces have been further shaped and contoured which cannot be done after the glue up.
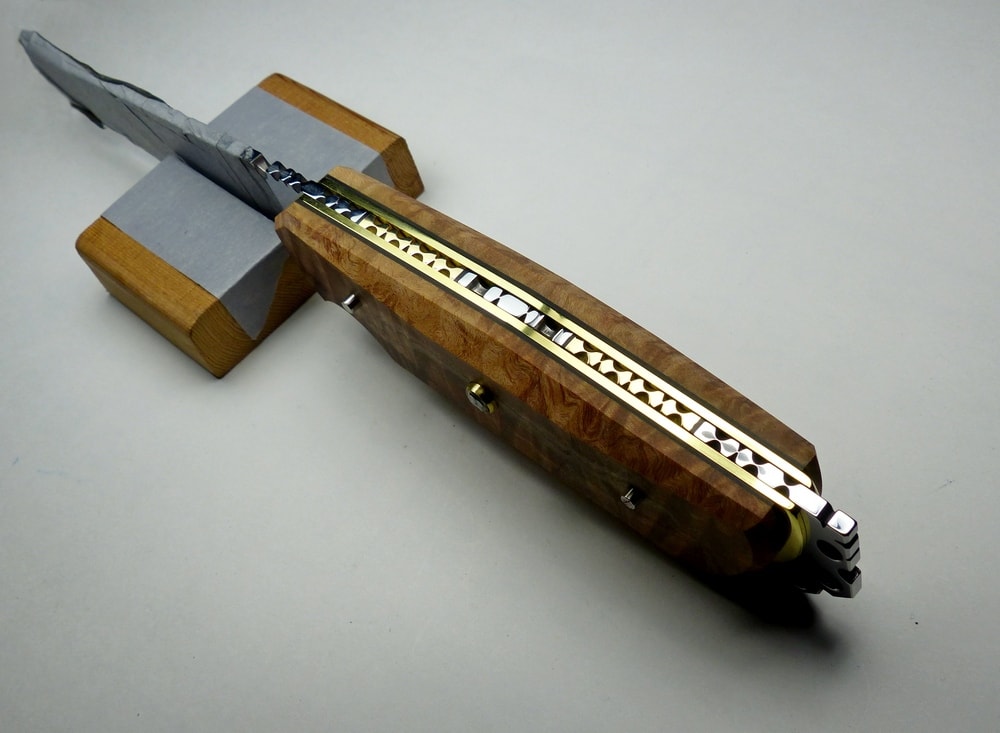
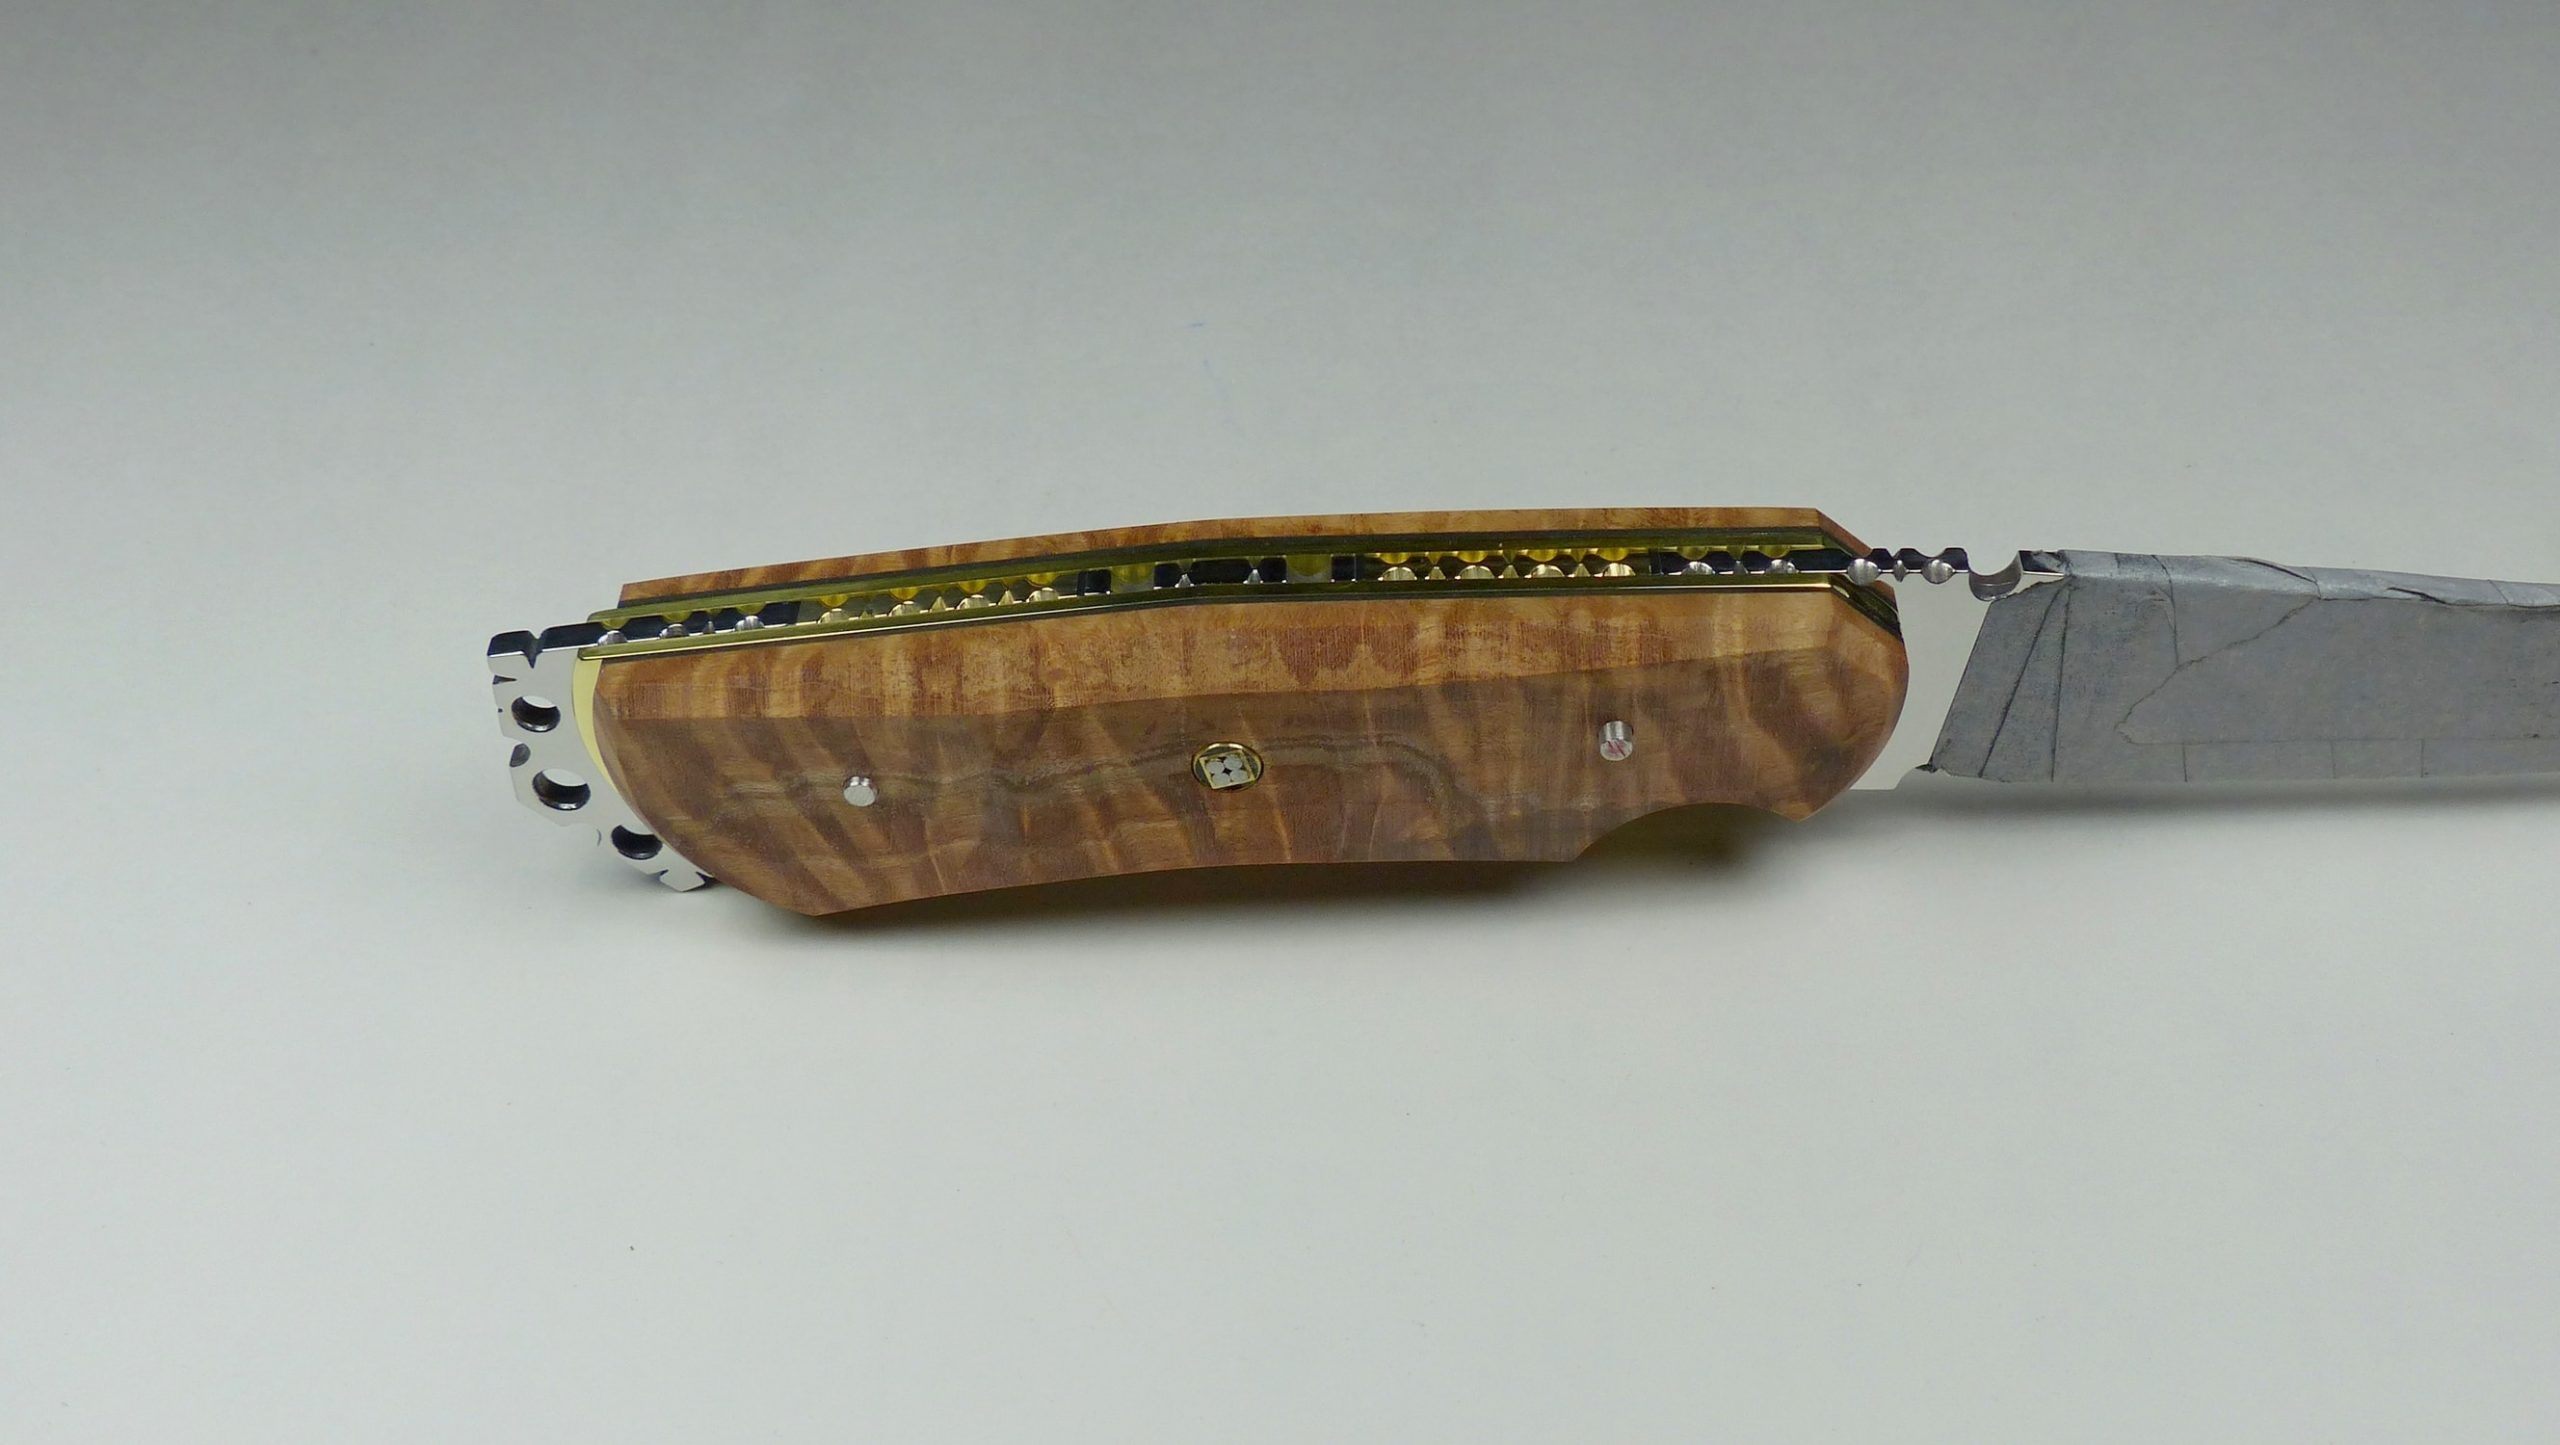

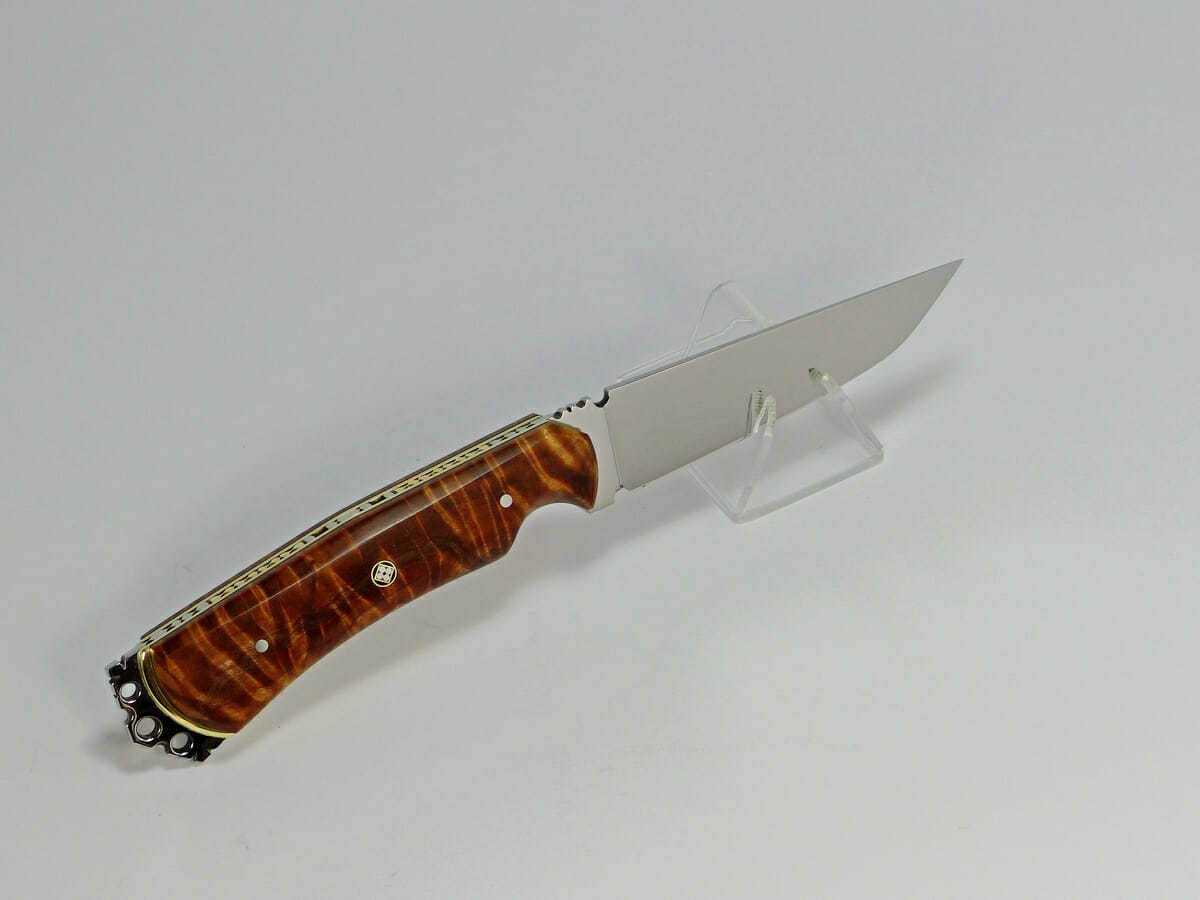
The final pictures show the finished — heat treated, shaped, contoured, glued and polished — knife. At this point your original idea is a reality and you made it all the way though without any mistakes and can let out a sigh of relief and go on to your next project.”
knife maker knife maker knife maker knife maker knife maker knife maker knife maker knife maker knife maker knife maker knife maker knife maker knife maker knife maker knife maker knife maker knife maker knife maker knife maker knife maker knife maker knife maker knife maker knife maker knife maker knife maker knife maker knife maker knife maker knife maker knife maker knife maker knife maker knife maker knife maker knife maker knife maker knife maker knife maker knife maker knife maker knife maker