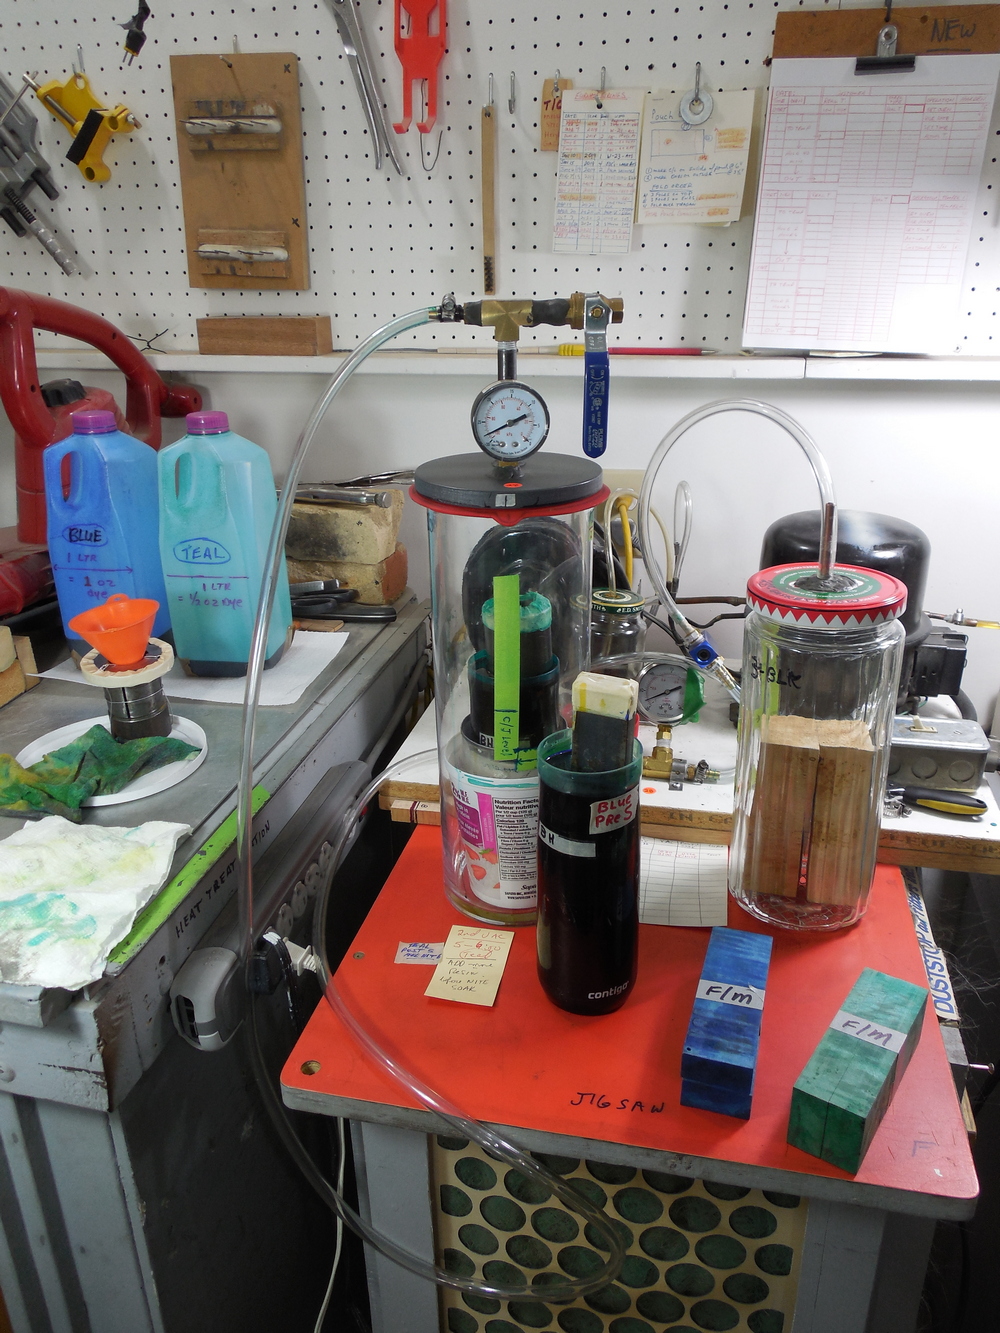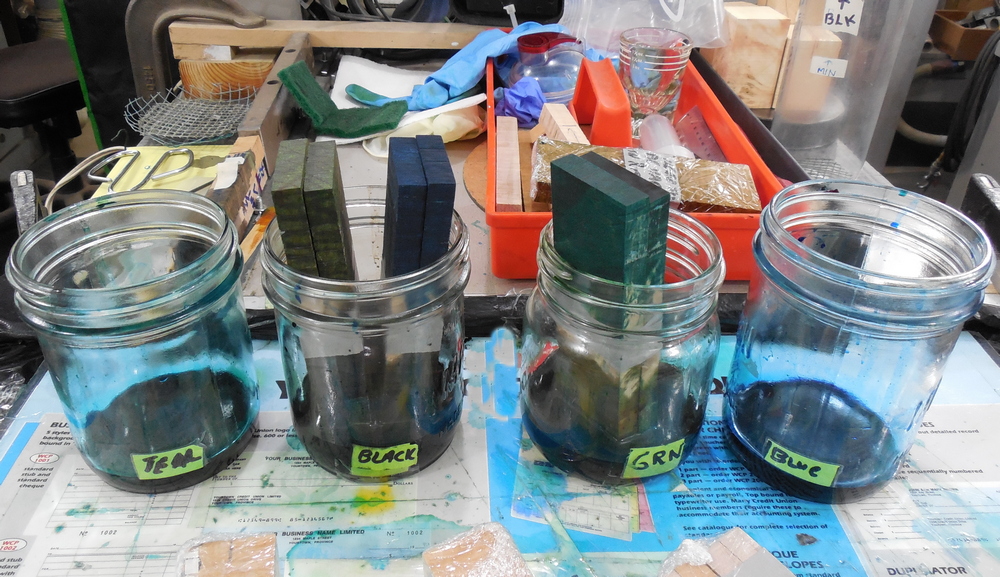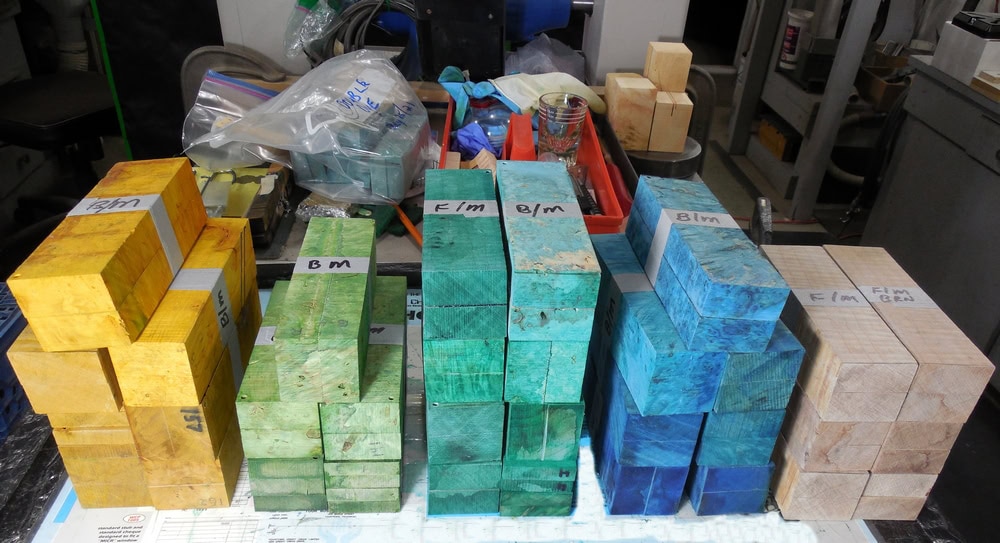
For the last month or so, along with upgrading my stabilizing system to take advantage of the new improved resin, I finished my run and am very pleased with the results. The new resin seems to have absorbed better, and with the new dyes and colors the company has come out with, the dyed wood is much brighter and richer looking. The last time I stabilized, I stuck with mostly leaving the wood with their natural colors by using only clear resin. I did a small amount of wood with colors, but wanted to experiment a bit more. This time I went the total opposite direction and did 80% of my wood in vibrant colors and left the balance of the wood in the natural clear colors.
The whole stabilizing process is very time consuming. Whether you do one piece of wood or 10 – it takes the same amount of time. So in order to get as many colors as possible with using the least amount of resin – I did small batches of wood – making the whole project take 2 or 3 times longer than it should have.
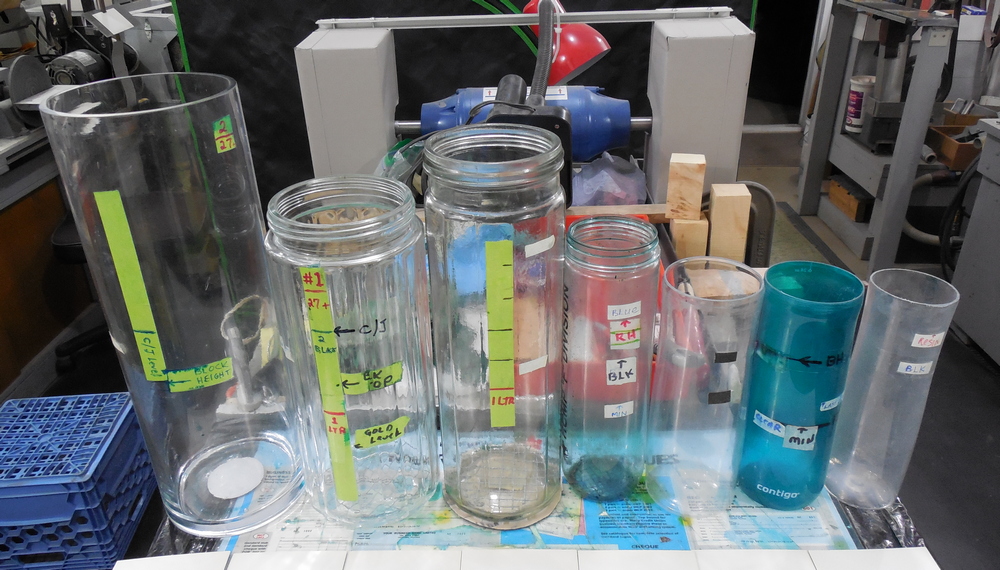
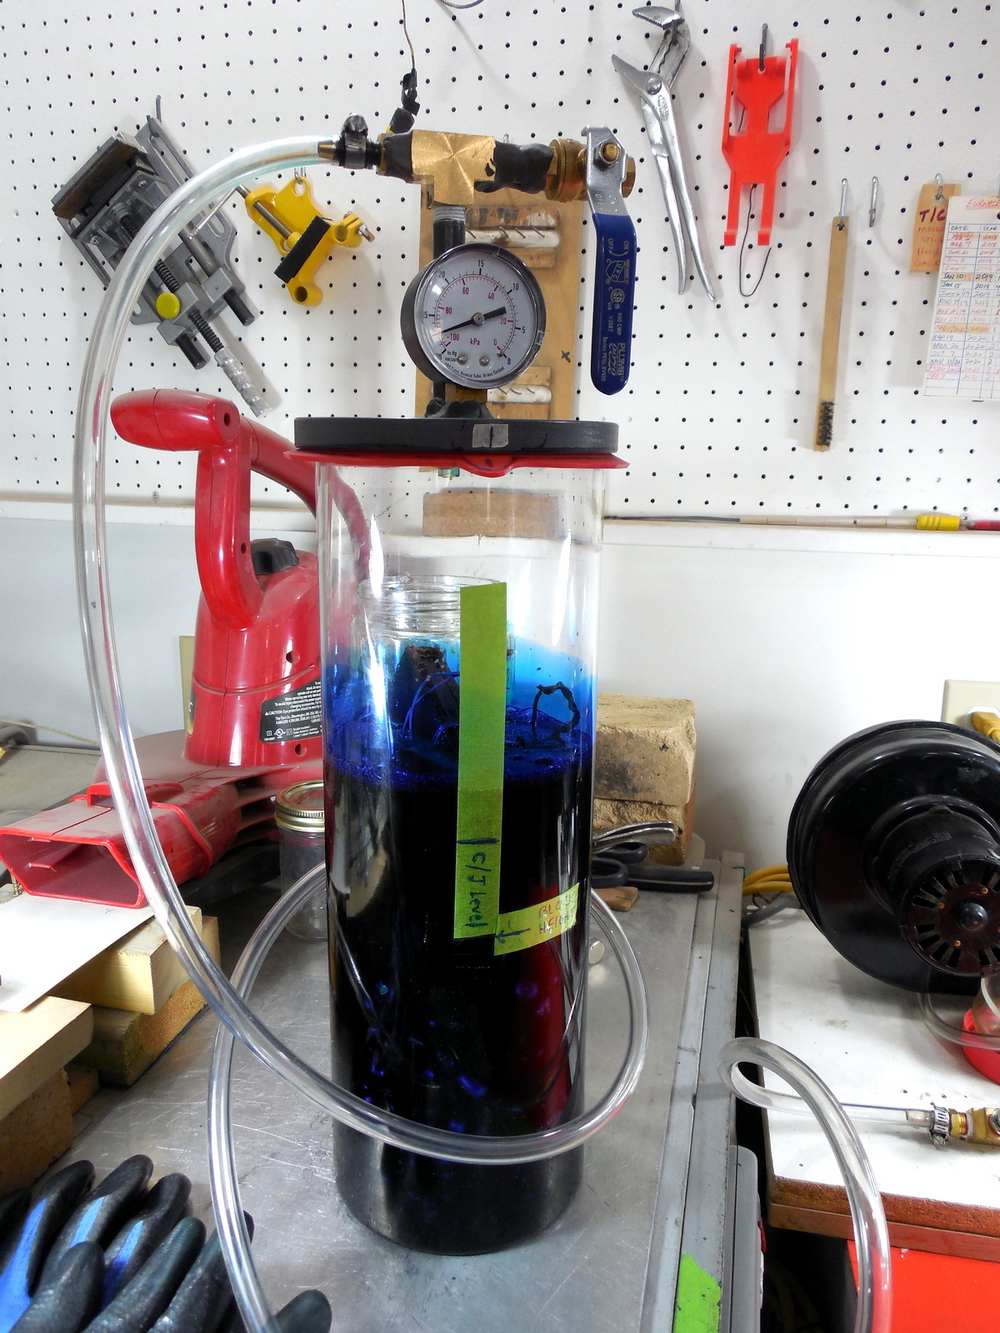
I modified my system to allow me to run two vacuum chambers at the same time, cutting the vacuum time down. I also did some double and triple dying of the wood in order to introduce several colors in the same piece of wood. All in all, this batch of wood turned out exceptional both in quality and color. The new improved resin seems to be just that.
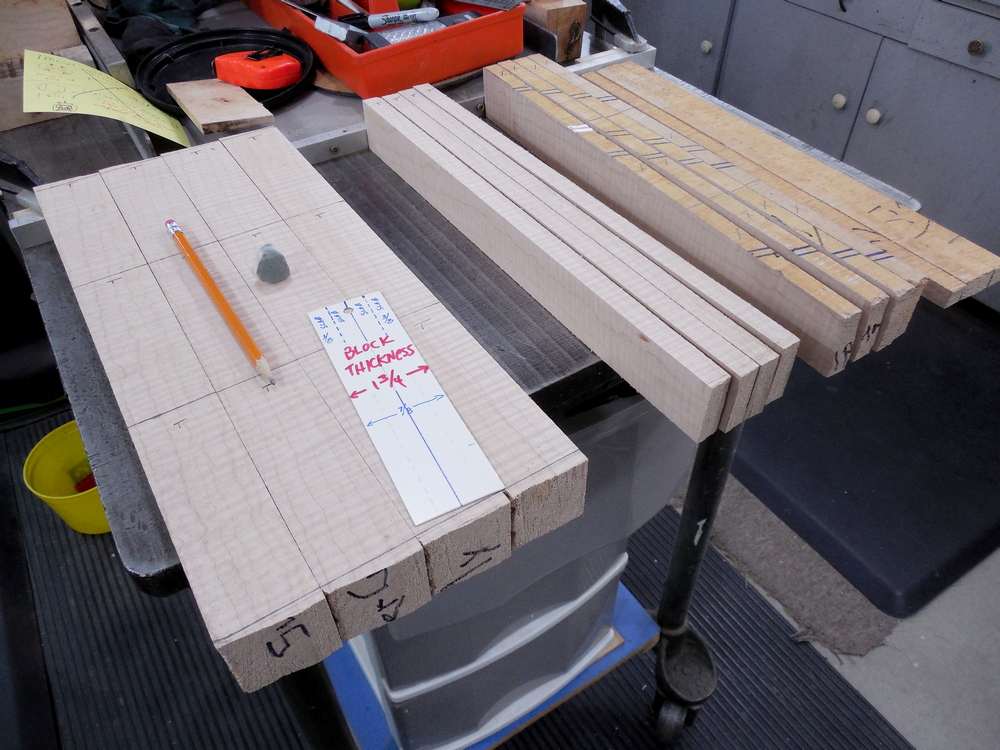
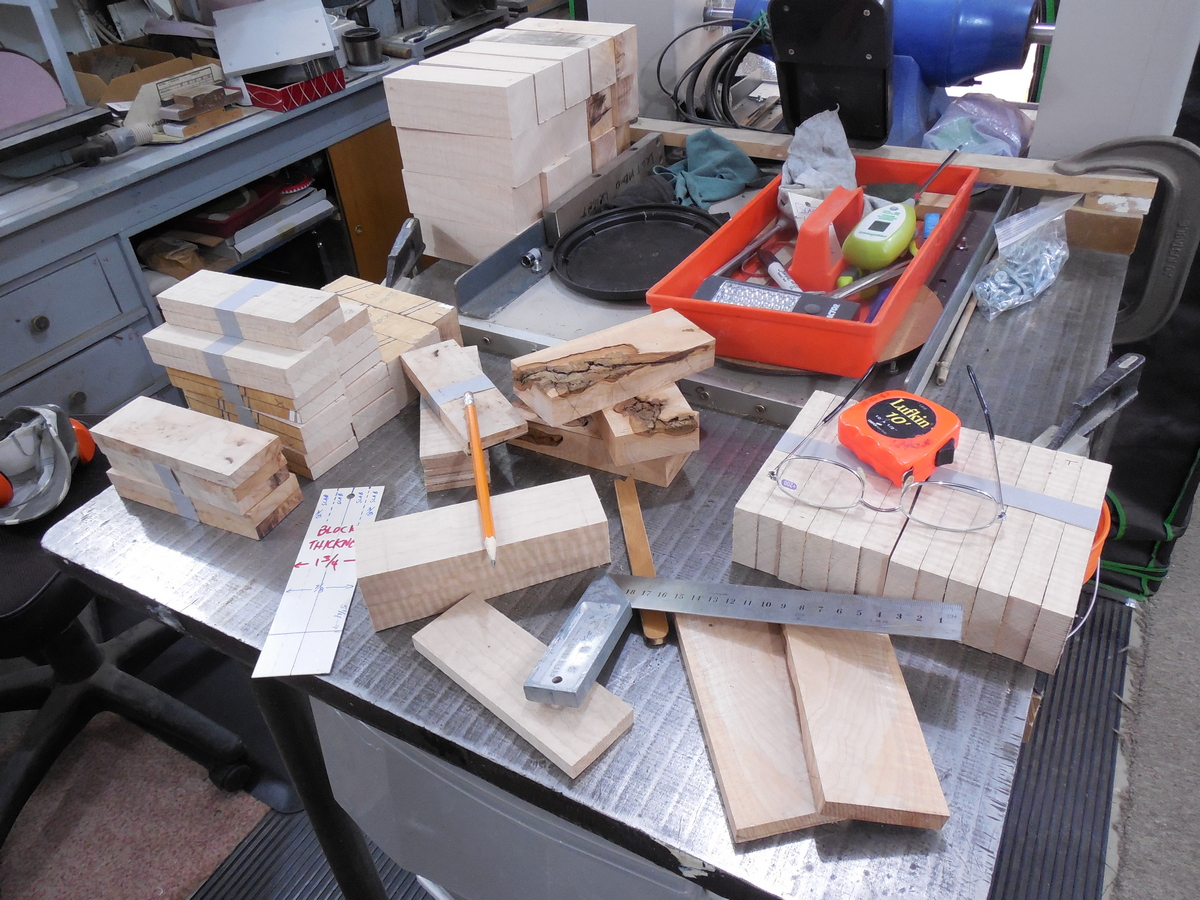
Coloring the wood is just part of the whole picture. On the previous batch of wood – I precut the wood into the finished scale size of 1.5x5x5/16 inches – but was disappointed in the amount of spoilage I got from the wood warping during the whole process. This time I cut the wood into 2x2x5 inch blocks. This cured the warpage problem, but created a difficulty later on. I had to bandsaw all these 2×2 inch blocks into the finished scales and this stabilized wood eats bandsaw blades. It took 10 hours of bandsawing and 2 blades to get through all the blocks. Not to mention all the colored dust it created. My shop looked more like a rainbow – all my tools had a multilayered buildup of colored dust. It took a whole day afterwards to blow and vacuum all the dust off everything. Like always, solve one problem and create another. Now to get started – I’m excited about building some new blades and using this new wood.